
Quick Download Your Rod Guide
The Standard Rod (Rockford Rod)
The Premium Rod
Installing your Curtain Co. rod is quick and easy.
You'll Need: Tape Measure, Pencil, Philips Srewdriver, Drill & Drill Bit, Stud Finder & Level
IMPORTANT: We recommend fixing all brackets directly into a wall stud or solid timber for a safe and secure installation.
ROD PLACEMENT: for a designer look, we recommend you:
- Mount the rod at least 20cm above the window frame or closer to the ceiling for a more elevated, custom look.
- Extend your rod 20cm past each side of the window frame to allow room for your curtains to stack back.
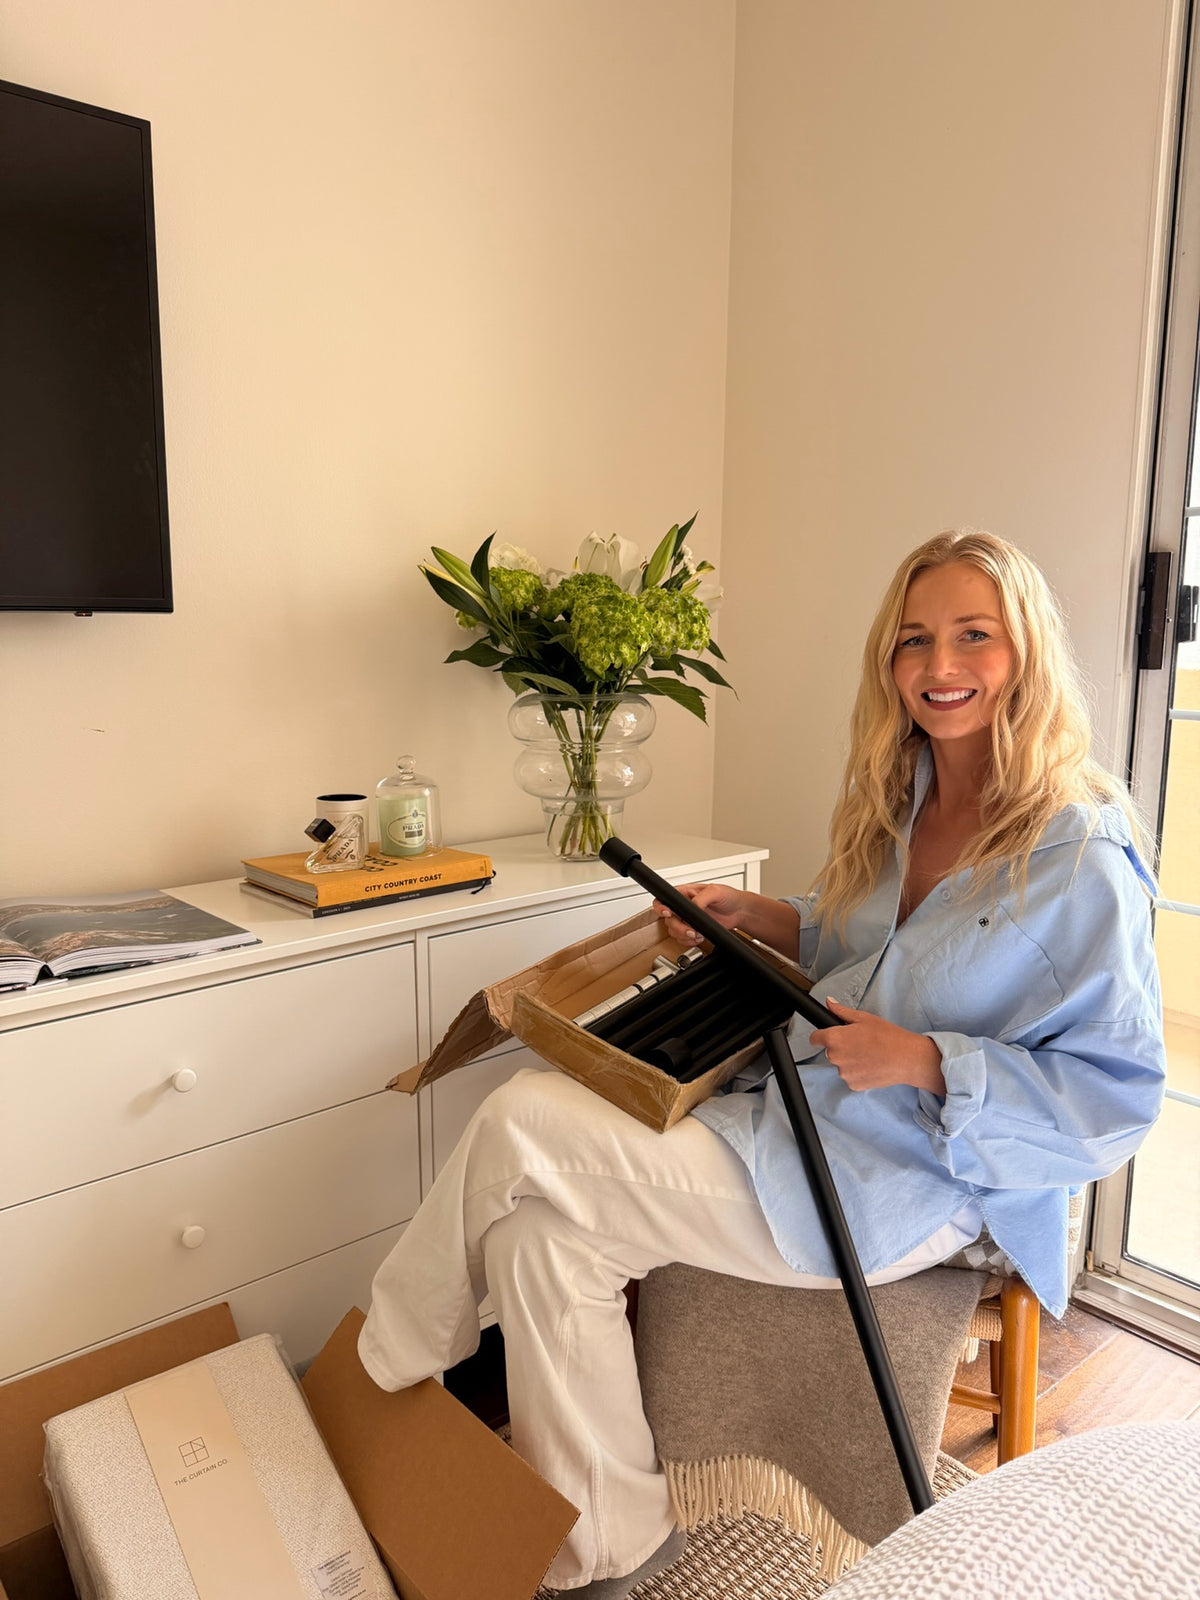
Step 1: Assemble the Rod
The Standard Rod
Screw the rod pieces together to create your required width, placing the outer rods (with screw holes) at each end. Screw the finials firmly into the outer rods.
The Premium Rod
Screw the finials firmly into the two outer rods. Connect each inner rod piece using the metal connectors, ensuring each connector is centred within the join for even weight distribution. Twist firmly to lock each section in place.
Add or remove rod sections to achieve your desired width.
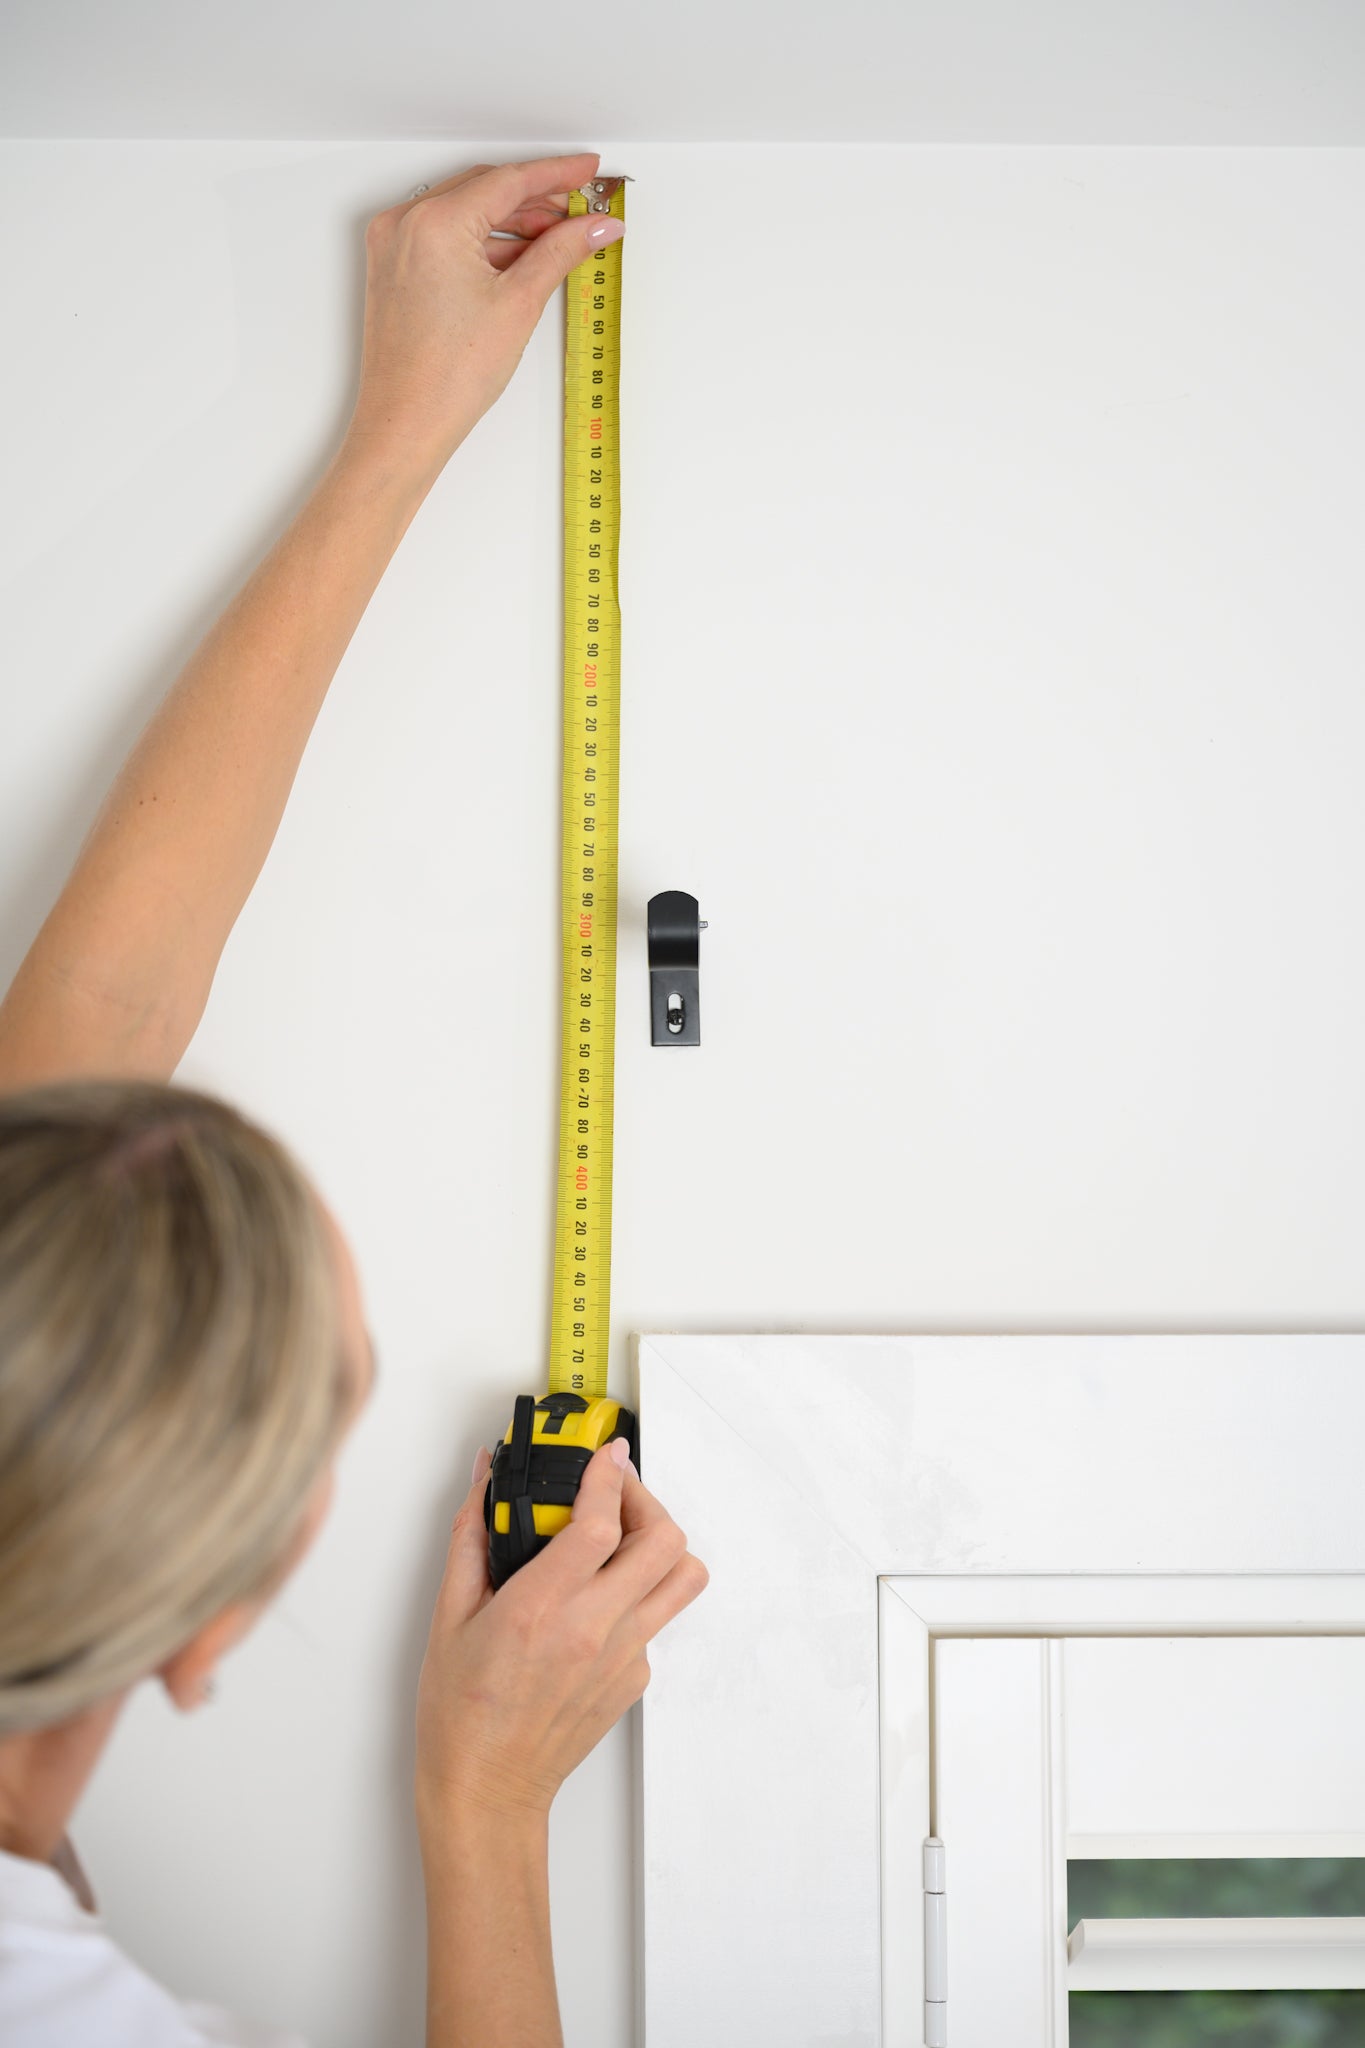
Step 2: Mark Bracket Positions
Slide your curtains onto the assembled rod and hold it against the wall to choose the right height. Use a stud finder to locate a wall stud or solid timber for each bracket. Position one bracket on either side of the window and one in the centre.
Pro Tip: Measure to make sure all three brackets are at the same height, mark the screw holes with a pencil, then check your marks with a level.
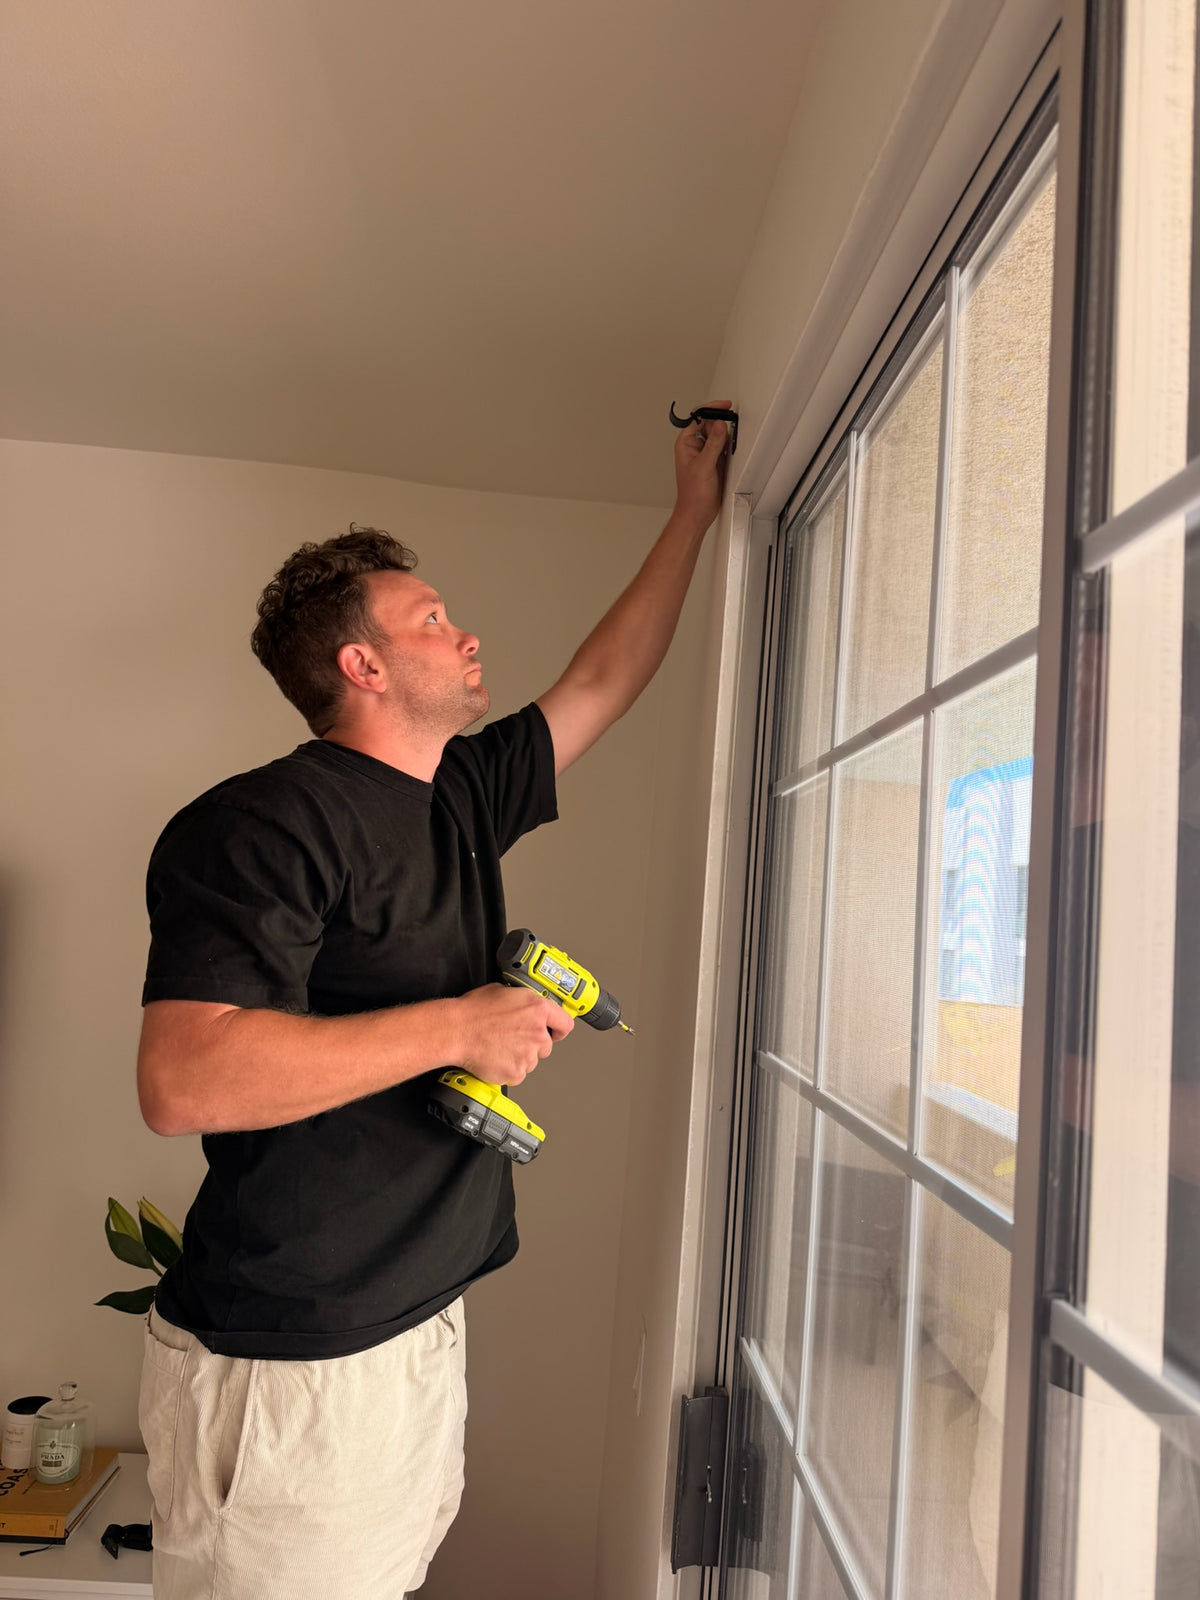
Step 3: Drill Pilot Holes
Use a drill bit that is slightly narrower than the screw and make a small pilot hole at each pencil mark.
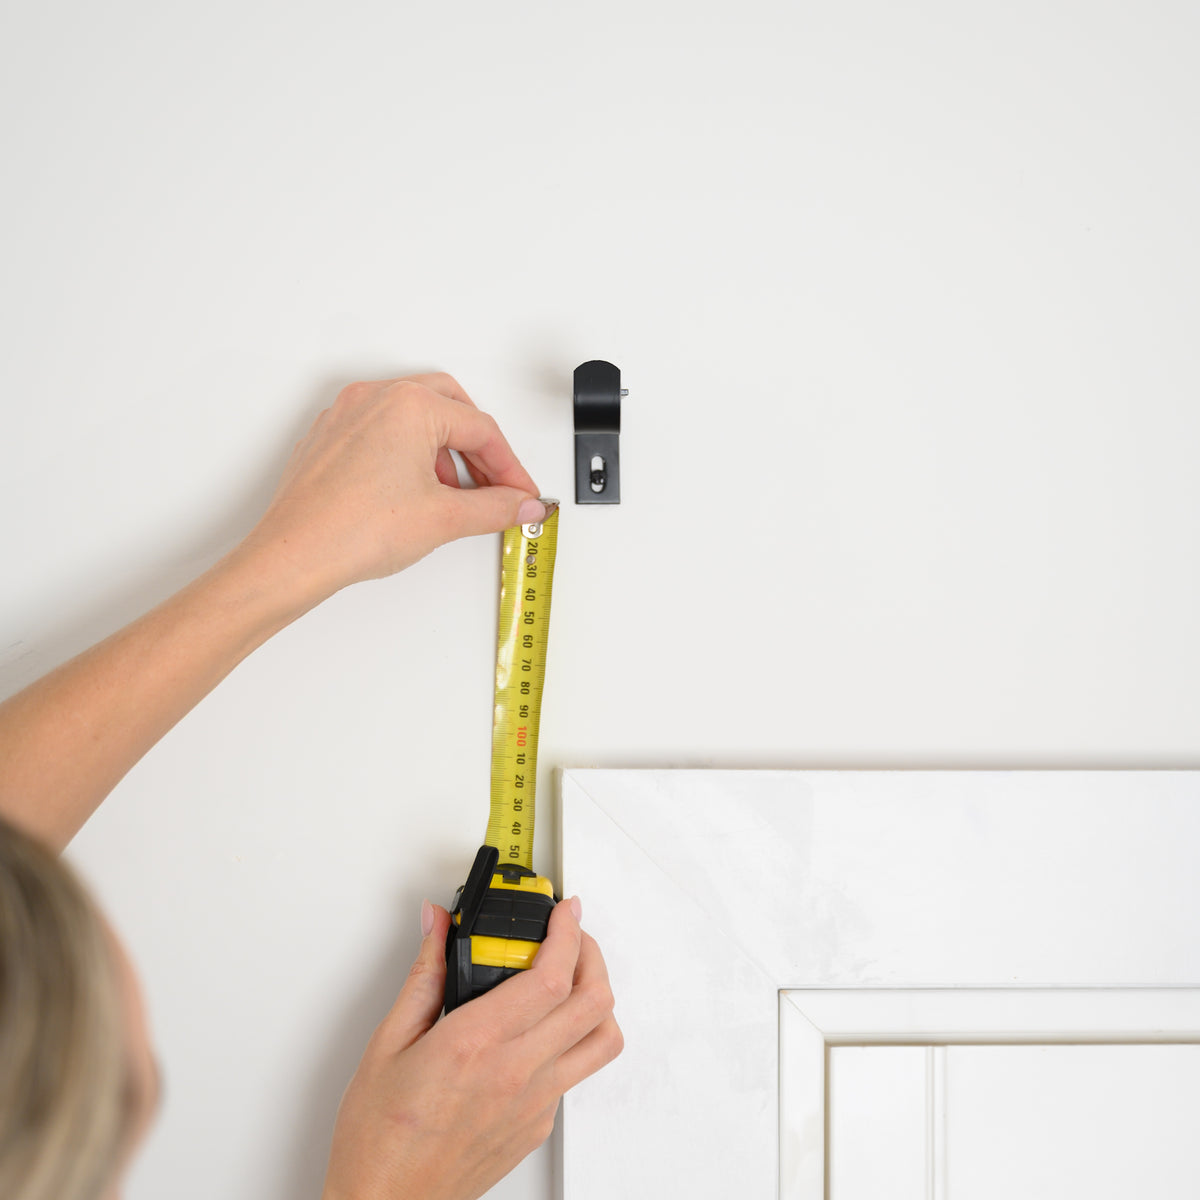
Step 4: Secure the Brackets
Align each bracket with the pilot holes and insert two screws per bracket. Each bracket should feel solid
with no movement.
Wall anchors are supplied but should not replace a secure fixing point.
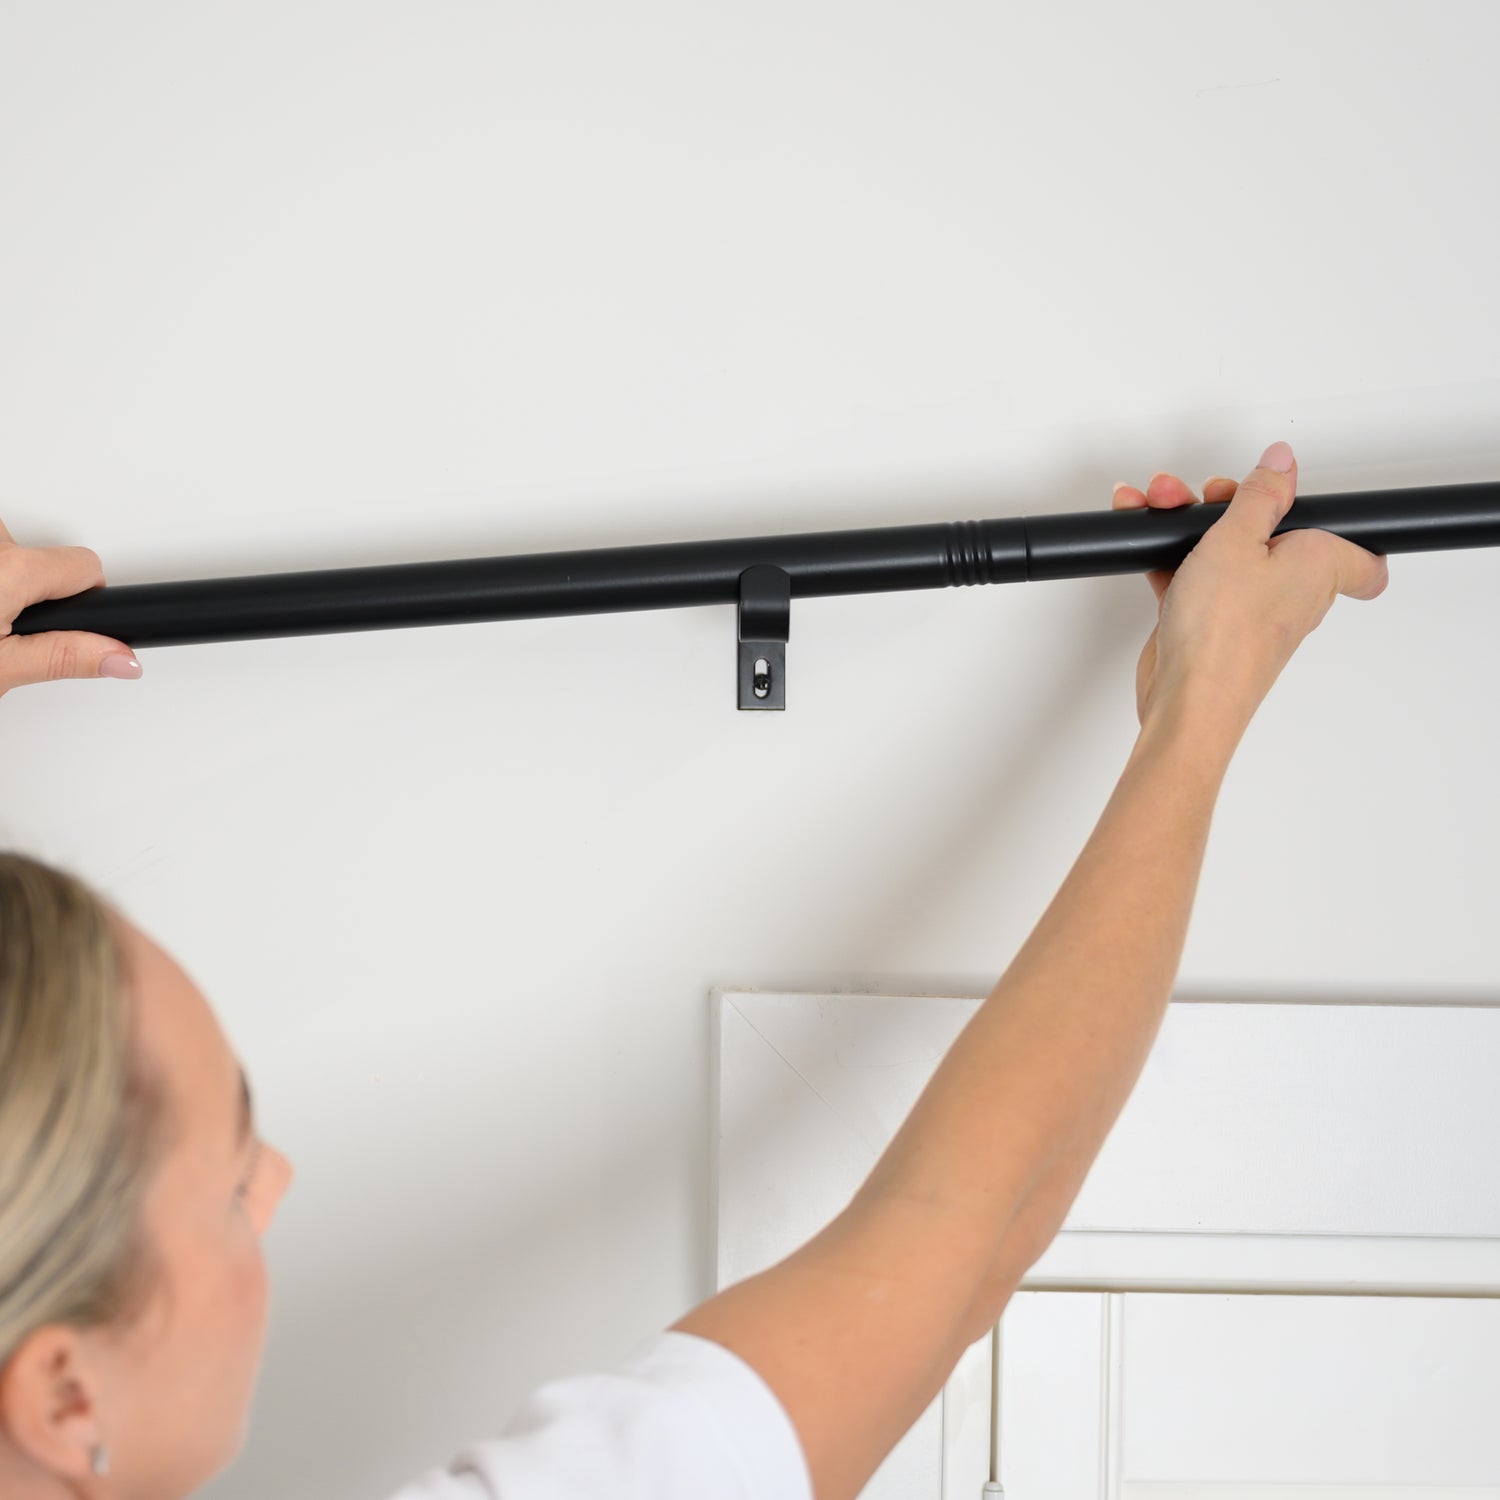
Step 5: Position the Rod
With your curtains still on the rod, place the rod into the bracket cradles.
Make sure the curtain tabs are in the correct position to allow your curtains to open and close easily. The centre bracket should sit between the two curtains.
Relaxed Pleat (Back Tab) Tip:
If you’ve chosen a back tab header, position the last tab on each end after the bracket. This allows for smooth opening and closing without catching or bunching.
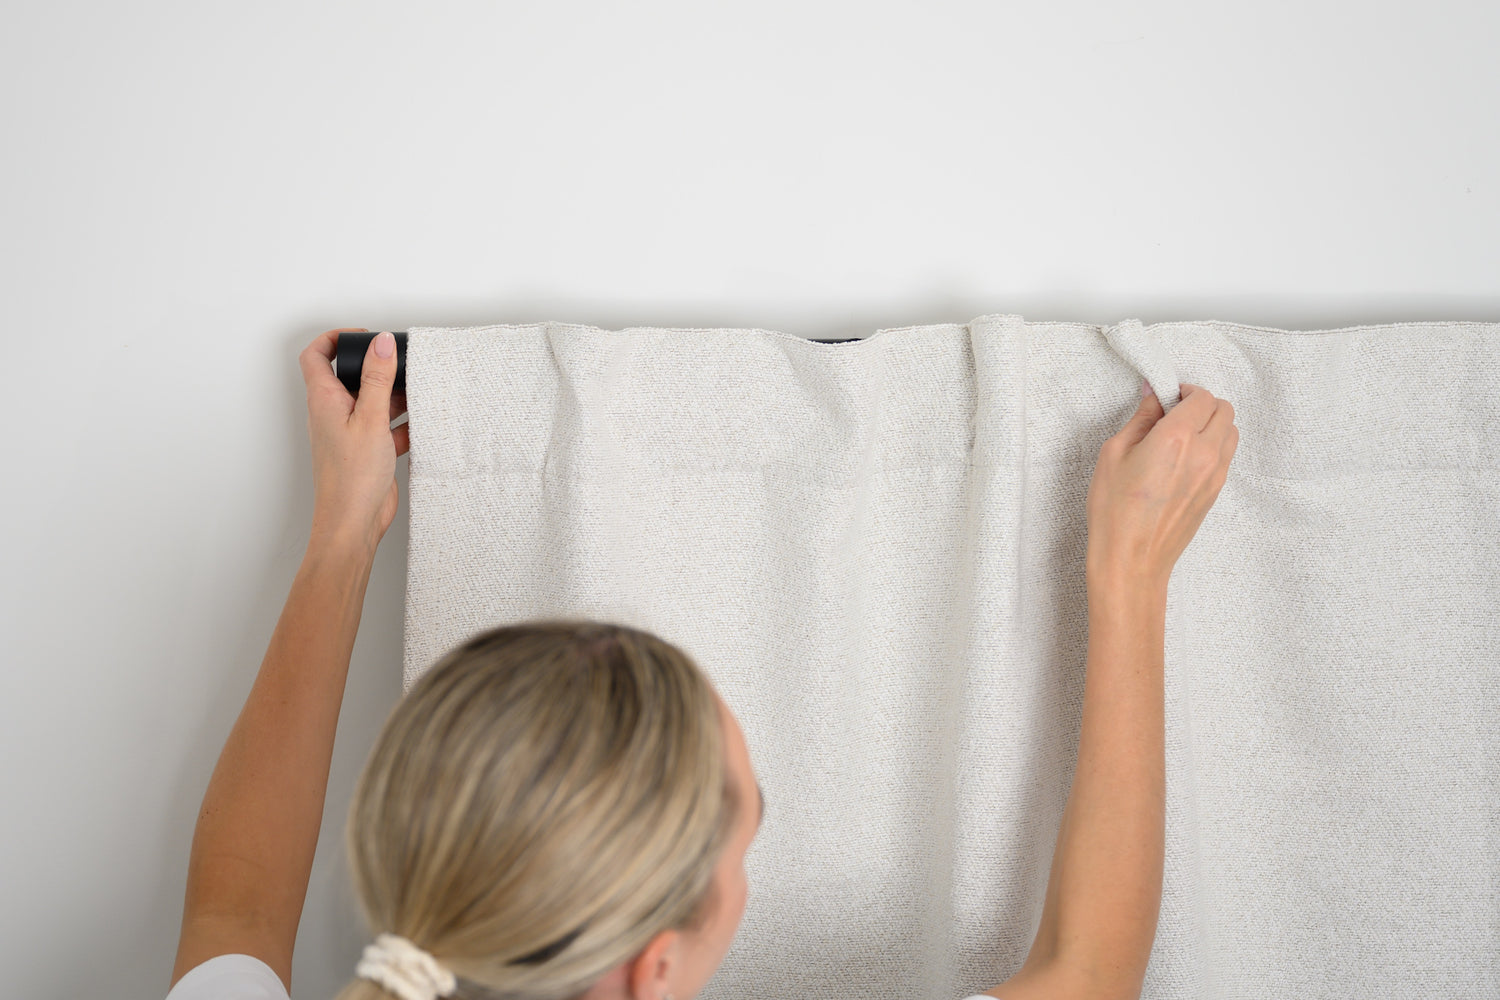
Step 6: Secure the Rod
Once you are happy with the rod position, tighten the small screw located behind each bracket cradle to lock the rod firmly in place.
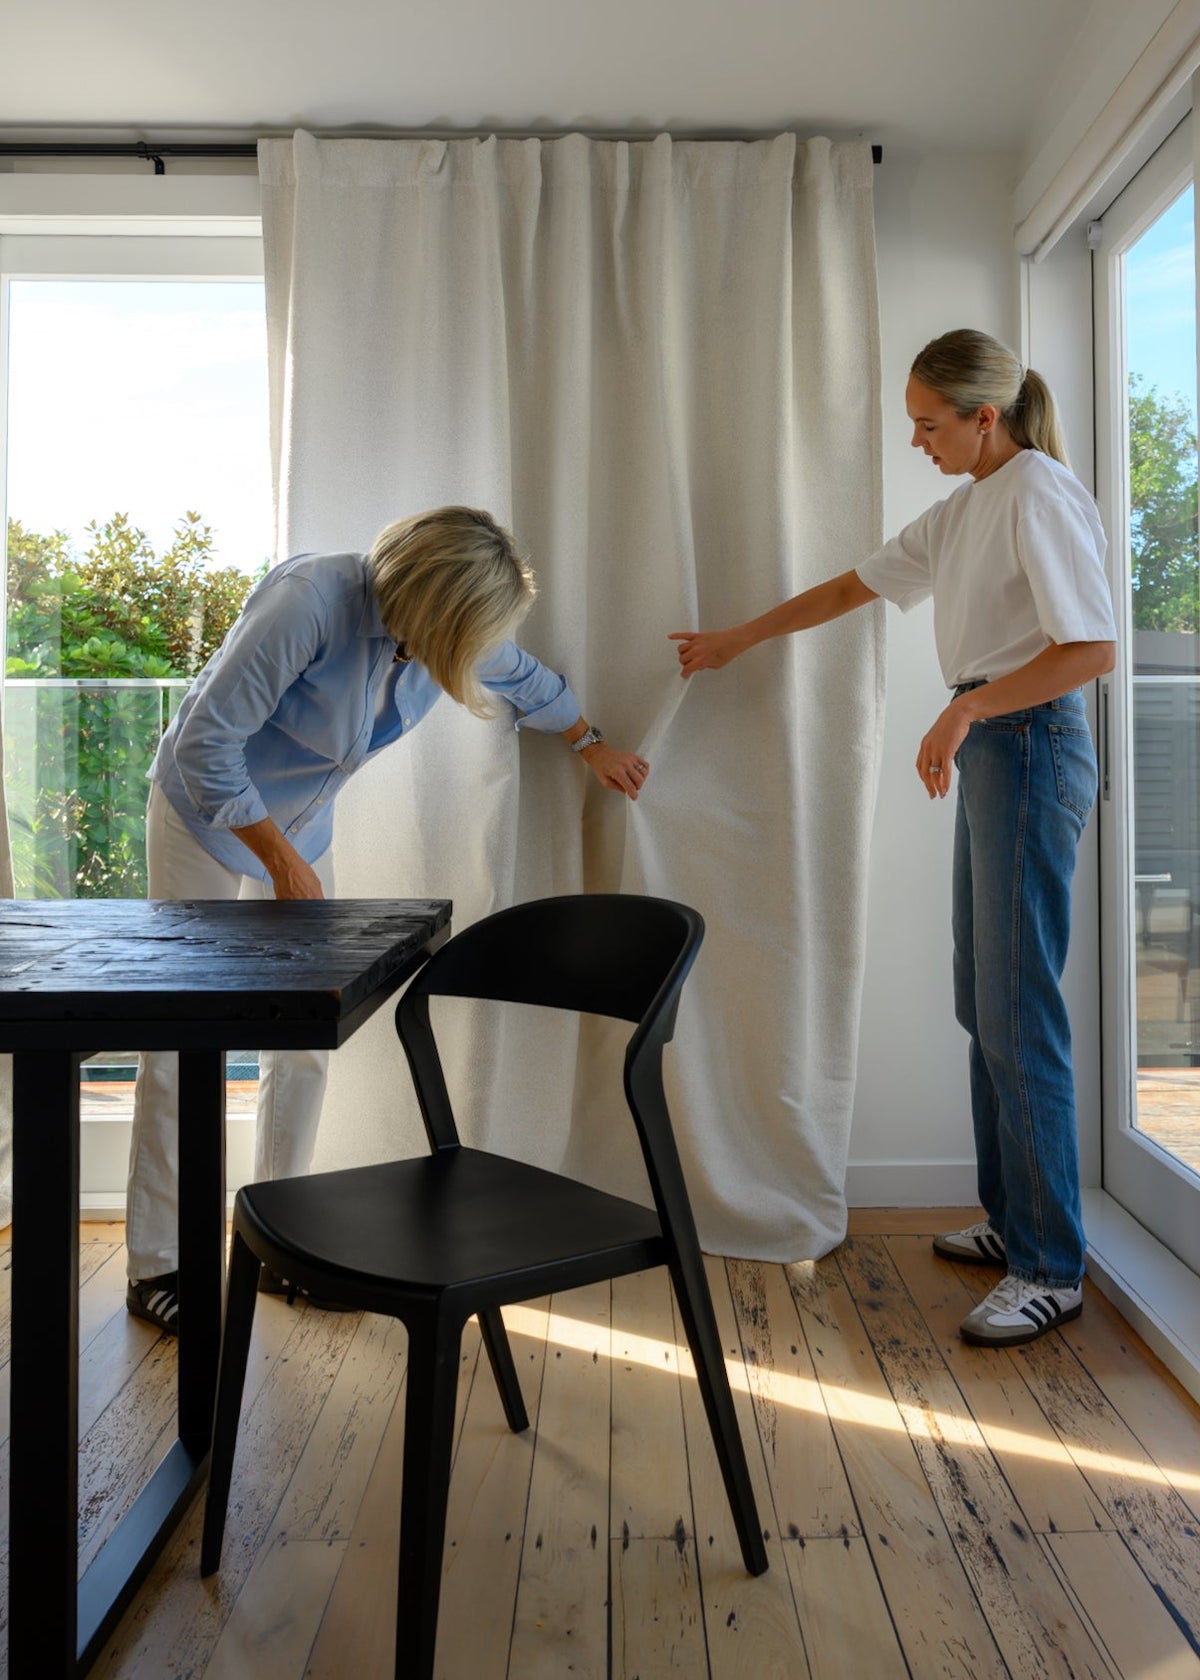
Then step back and style:
- Lightly press curtains with a cool iron or steamer for a polished look.
- Adjust the fabric for even, soft pleats and a balanced finish.
Caring For Your Curtain Rod
- When it’s time to clean, simply slide your curtains off and give the rod a wipe with a soft, damp cloth.
- Avoid abrasive cleaners to maintain its beautiful finish.


